XenServer Virtual Machine Install Guide
This is the Wanos install guide for XenServer. Read and familiarize with the basics before deploying the appliance into production. This guide follows the Bridge deployment.
Table of Contents
Solution – Disable Offloading functionality by running this script in the XenServer Console.
Run the script to apply to specific VMs
Configure Network
Configure the NIC(s) and Networking aspect of XenServer before installing Wanos. Create as many LANs or VLANs as required. The steps are based on a Bridge deployment which is the default used by Wanos. Two Networks will be created based in this bridge mode setup guide.
WAN_Link (Is assigned on the wan side of Wanos)
Server_LAN (Is assigned on the lan side of Wanos)
To get started, Log into the XenCenter Windows Management Console and connect to Server > Networking (tab).

WAN_Link
Click Add Network, select Single-Server Private Network and click Next.

Set the Name to WAN_Link and add a Description (optional) then click Next.
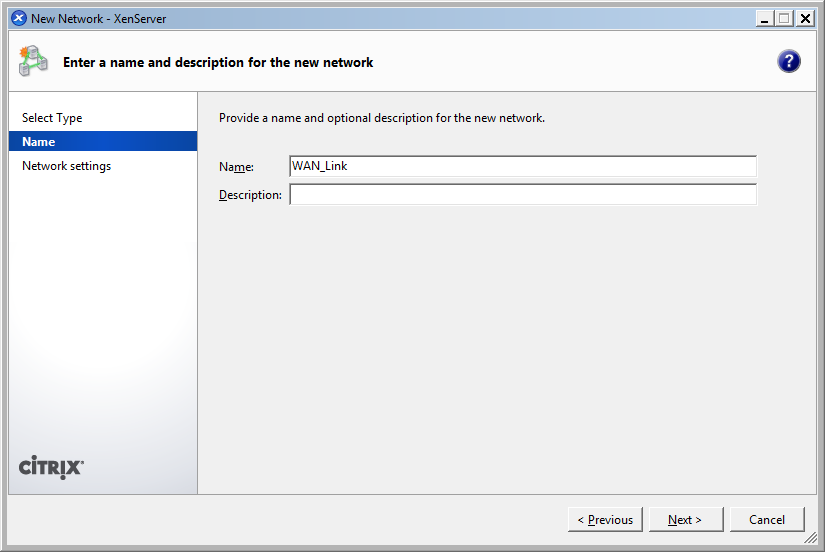
Leave Automatically add this network to new virtual machines unchecked or deselected. Click Finish to add the new network.

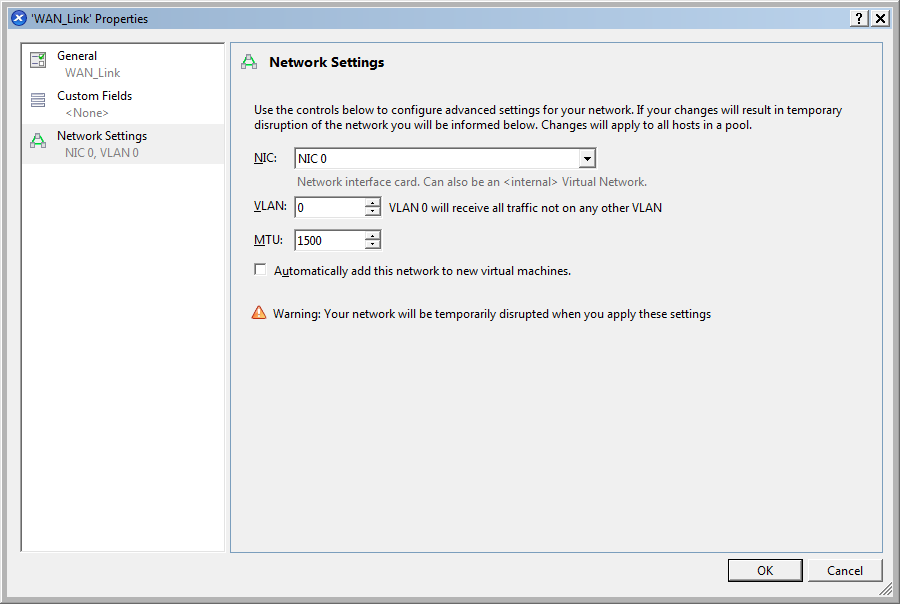
After creating a new Network, select WAN_Link in the Networking (tab) list and click Properties.
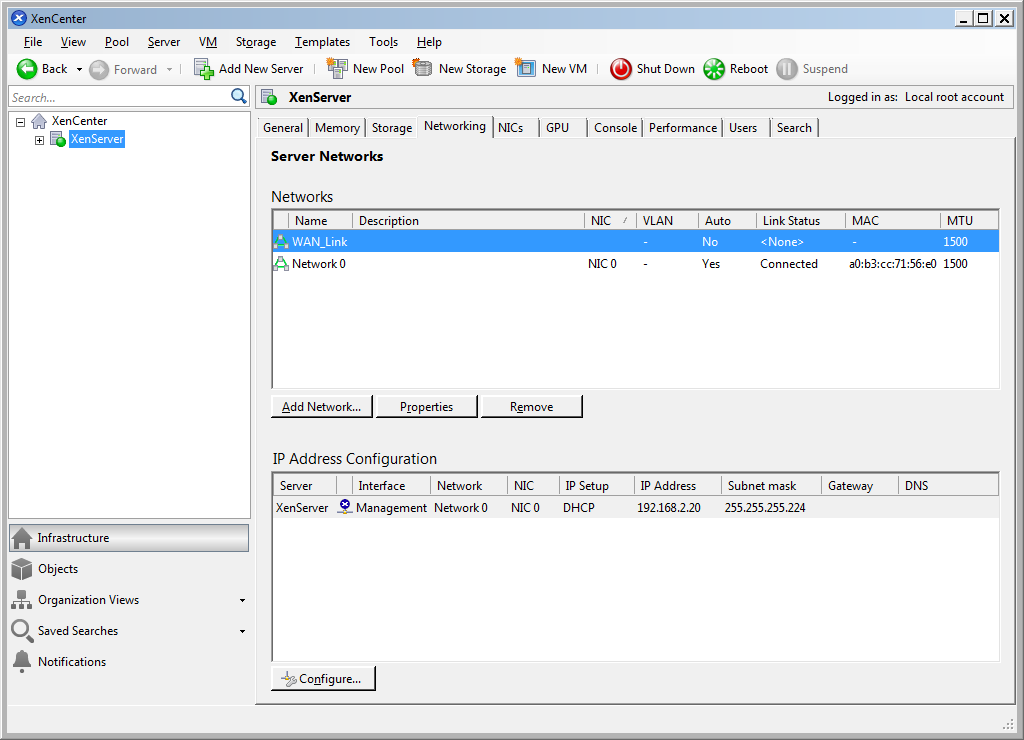
Configure the network by associating the correct NIC and/or VLAN ID as needed. In this example, NIC 0 and VLAN 0 was used. Click OK once done.
Server_LAN
The same steps outlined in WAN_Link may be used. Create a second Network named Server_LAN.
Import Wanos Appliance
Download the OVA version of Wanos from our website. Extract the file to a target directory (e.g. Downloads). At least two Wanos installations are required in a production environment.
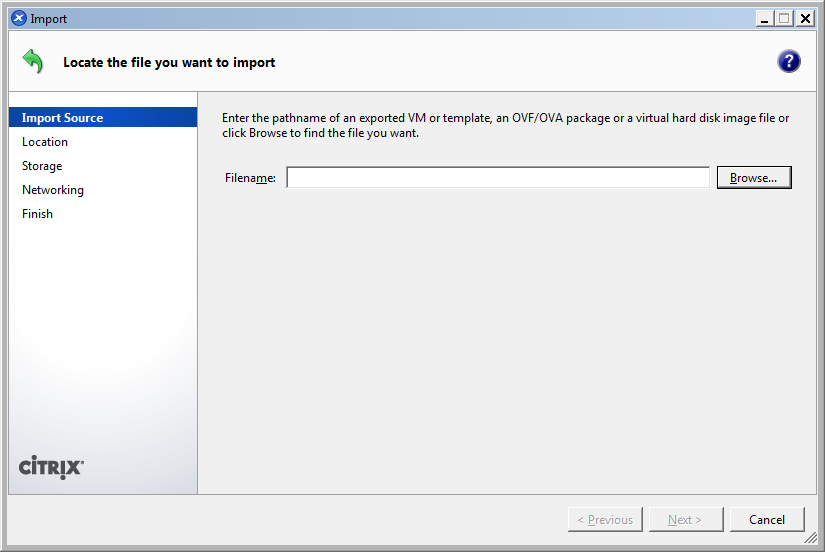
To get started, right click on the target XenServer, select Import and a guided wizard will begin.

Under Import Source, Browse the extracted Wanos OVF file and click Next to continue.
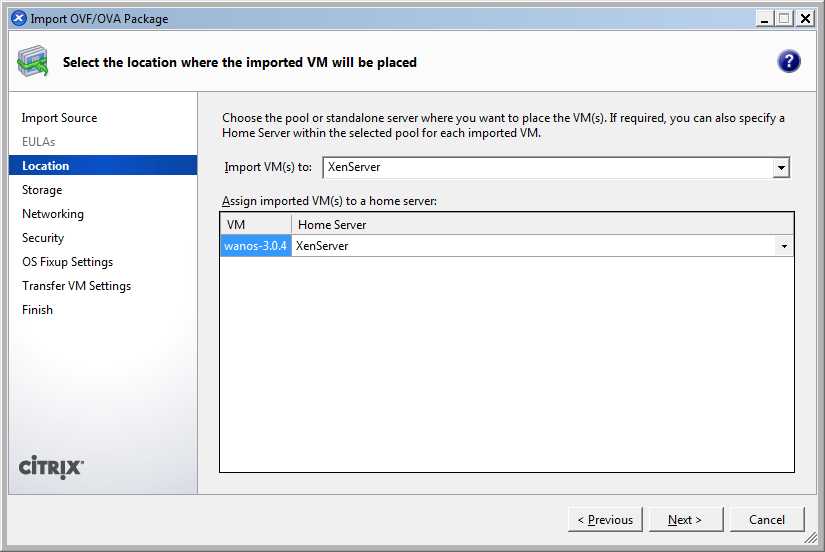
Set the correct parameters and click Next.
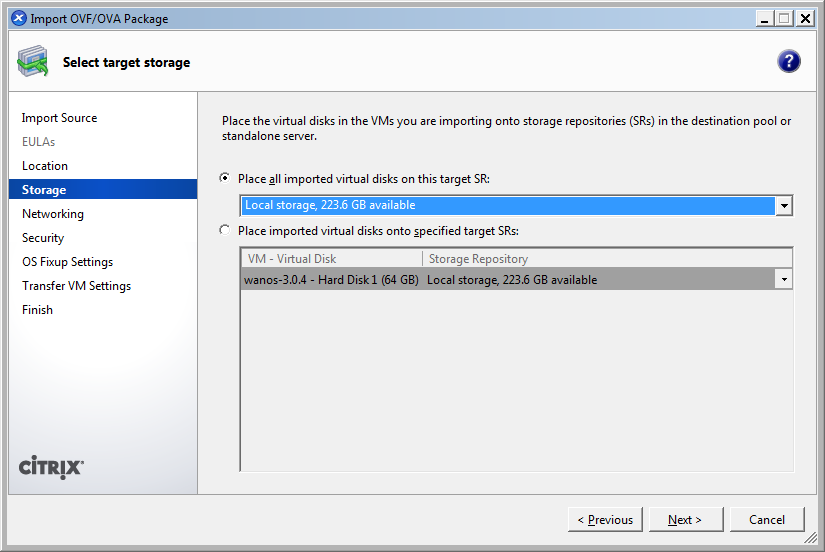
Set the appropriate target SR and click Next.
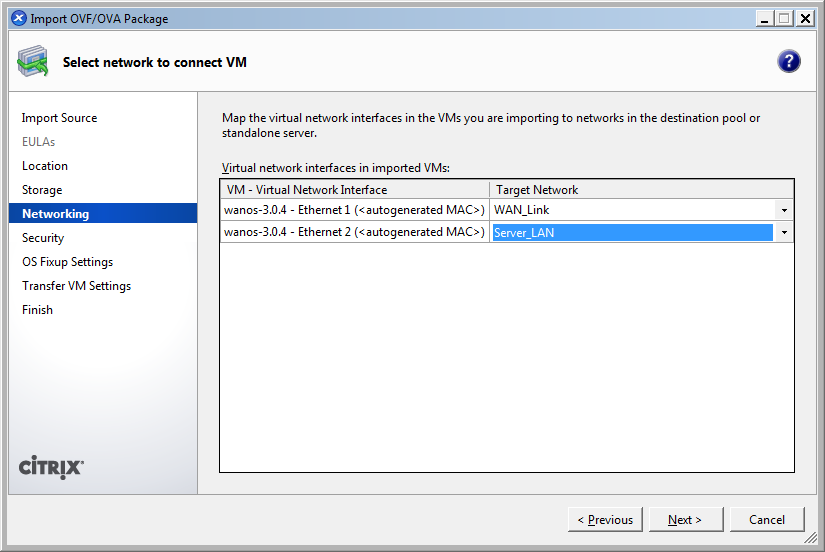
Under Networking, set the the following parameters based on the examples used in WAN_Link and Server_LAN.
wan0: WAN_Link
lan0: Server_LAN
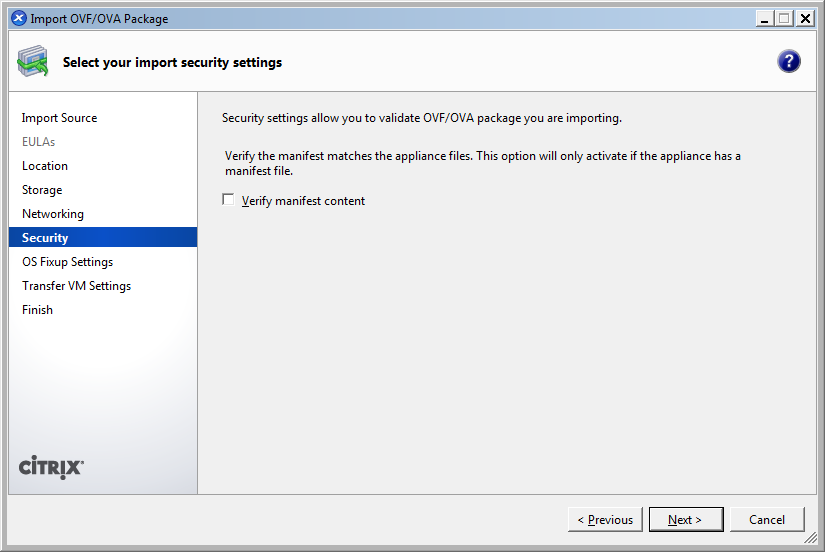
Under Security, leave Verify manifest content unchecked / deselected and click Next to continue.
Under OS Fixup Settings, leave the option Don’t use Operating System Fixup selected and click Next to continue.

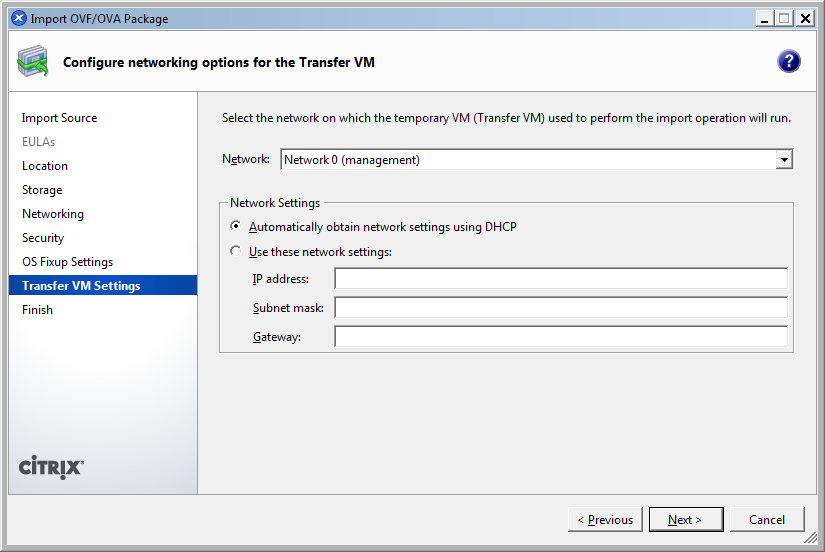
Leave the defaults selected under Transfer VM Settings unless necessary. Click Next to continue.
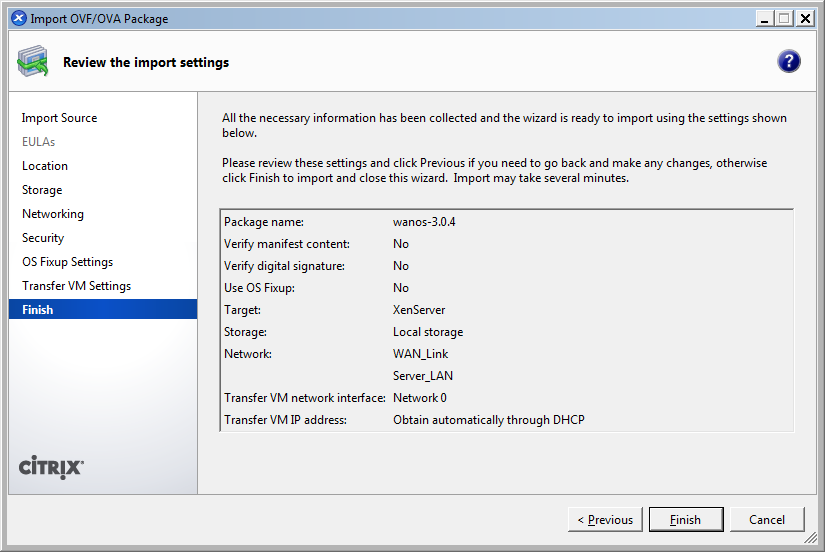
This page will show a summary of the options selected. Click Finish to start the import. Import status can be verified from the Events subsection under XenCenter Notifications category.
Once the import is complete, review and set the Name, CPU and Memory options.
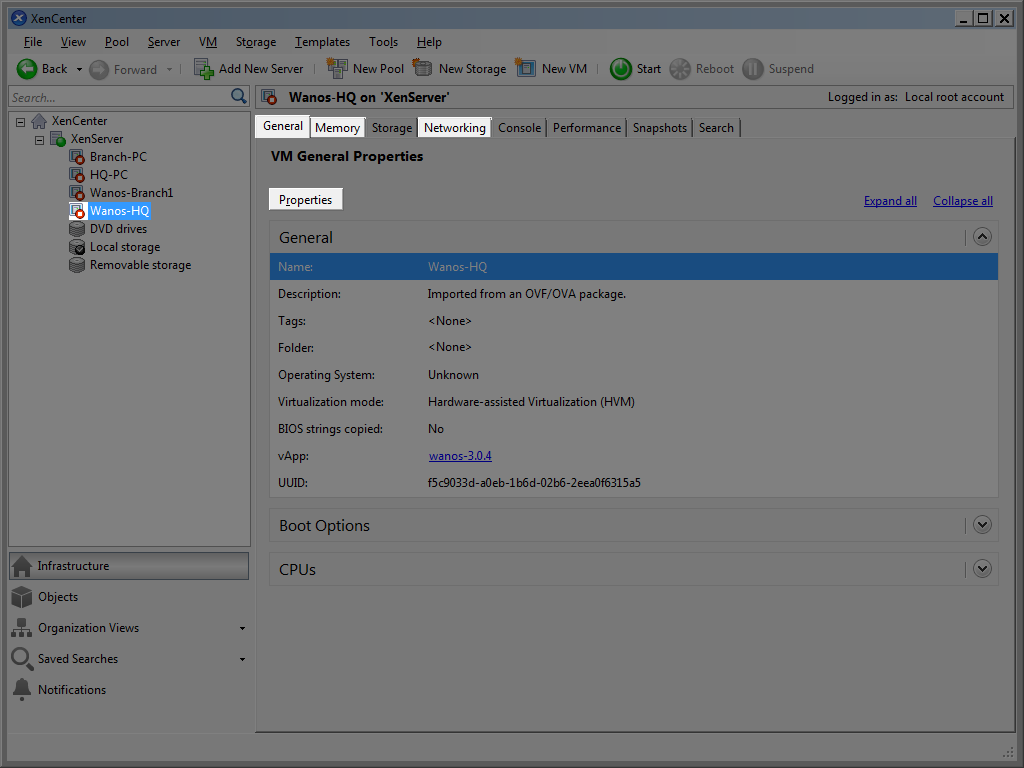
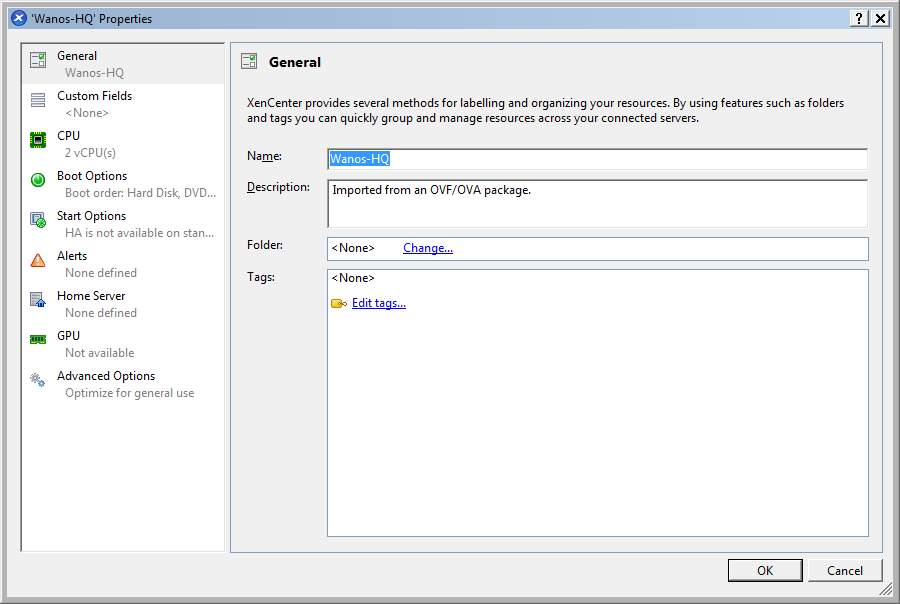
Under General > Properties > General, set the name to Wanos-HQ.
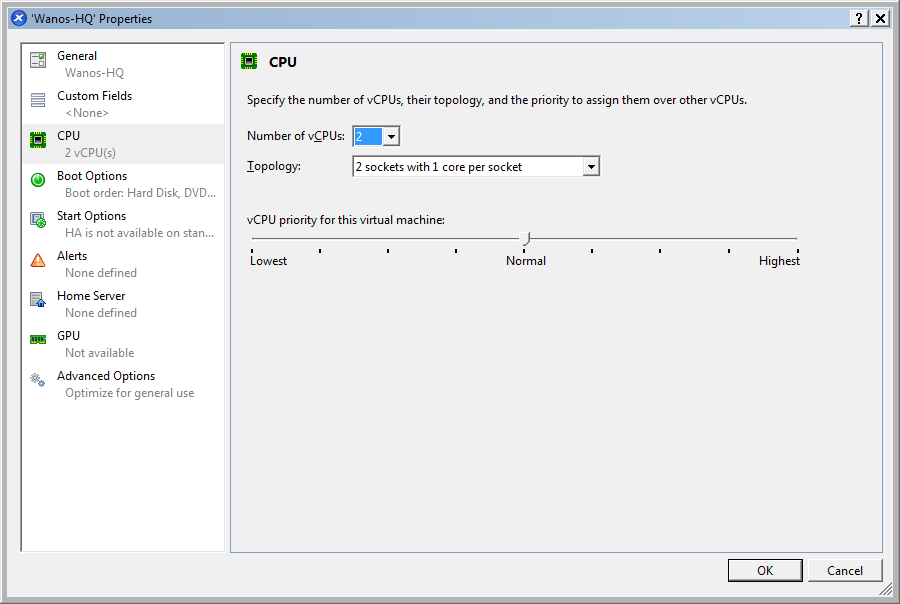
Under General > Properties > CPU, set the number of vCPUs. Refer to the Hardware Requirements guide for more information. Once done, click OK to save the settings and return to the VM General Properties Window.
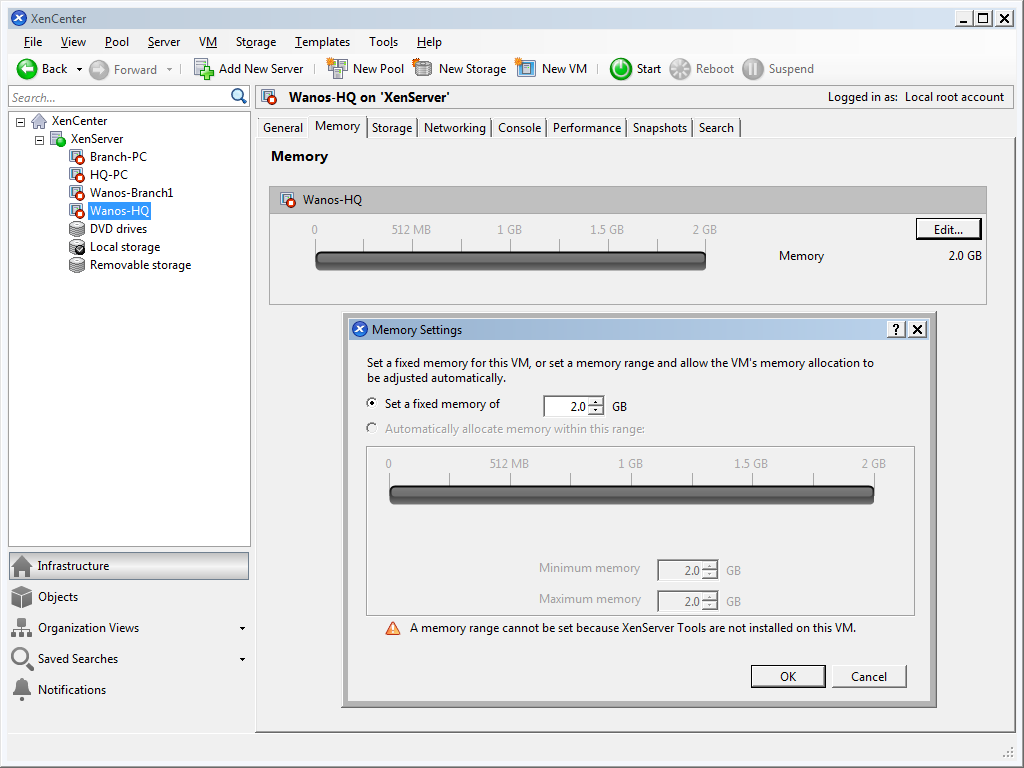
Set an appropriate amount of memory under Memory (tab). Refer to the Hardware Requirements guide for more information.
Follow the steps outlined in Import Wanos Appliance to deploy Wanos in other locations or offices. Adjust the parameters based on the deployment strategy across different sites.
IP Configuration
At this point, Wanos is installed and running.
Use a web browser to access the Web UI via https://192.168.1.200. If the network is on a different subnet, then, change the IP & Gateway information.
Once done, type the Username and Password to Login.
Update Software
Ensure to run the latest Wanos version. A step-by-step software update process guide is available.
License Activation
Unlock all Wanos features by activating a license. Please refer to the License Activation article. This step is also required for Trial use.
Username and Password
The login details for the Appliance and Web UI is in the Username and Password FAQ section.
XenServer Network Interface Offloading
As far as the basic install and deployment of Wanos is concerned, the previous sections should suffice. Occasionally, depending on the hardware, an issue occurs where Network Interface TCP Offloading settings are not correctly handled by the XenServer hypervisor. When this issue occurs, TCP traffic appears to be blocked but ICMP will be successful.
Citrix has provided an official guide in disabling TCP offloading in XenServer. Please refer to the article https://support.citrix.com/article/CTX212540
Verify the current offloading features on your NIC by running ethtool -k <device name> (e.g. ethtool -k eth0) from the XenServer console.
Solution – Disable Offloading functionality by running this script in the XenServer Console.
Word of caution: The script does not provide a way to rollback / undo the changes.
- Download the offloadingoff.sh script.
- Upload the script to XenServer. WinSCP or similar tools can be used.
- Log into XenServer Console.
Apply to specific VMs:
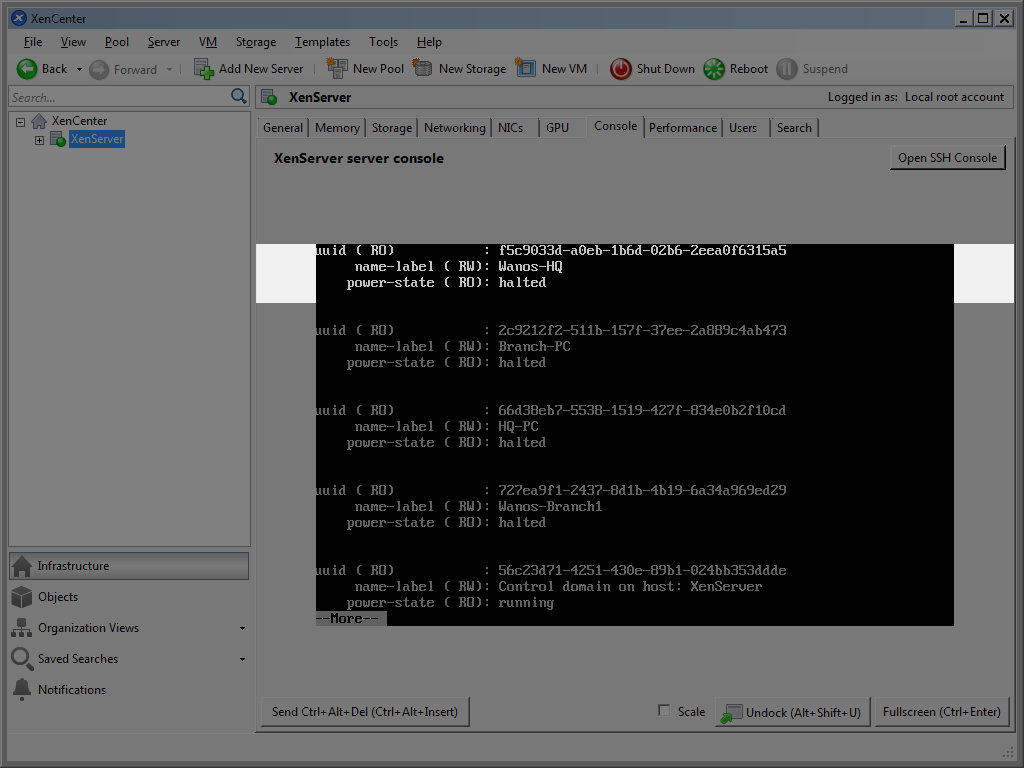
Determine the name of the target virtual machine by running xe vm-list | more from the XenServer console. Take note of the name-label (RW) value named Wanos-HQ in the screenshot below.
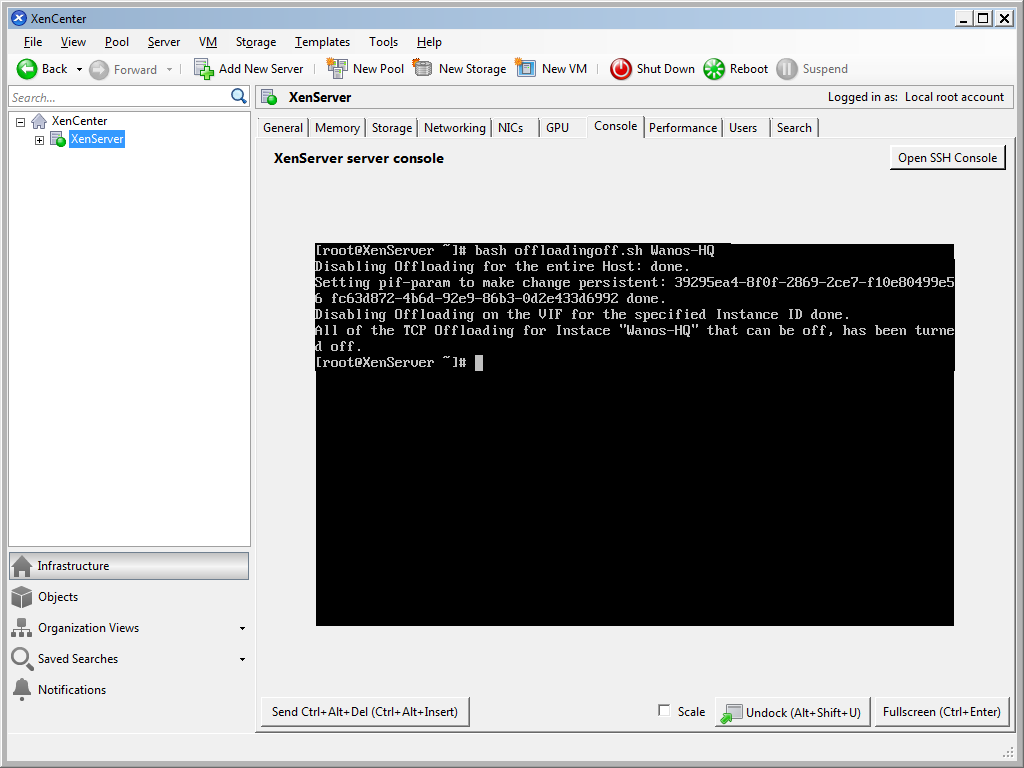
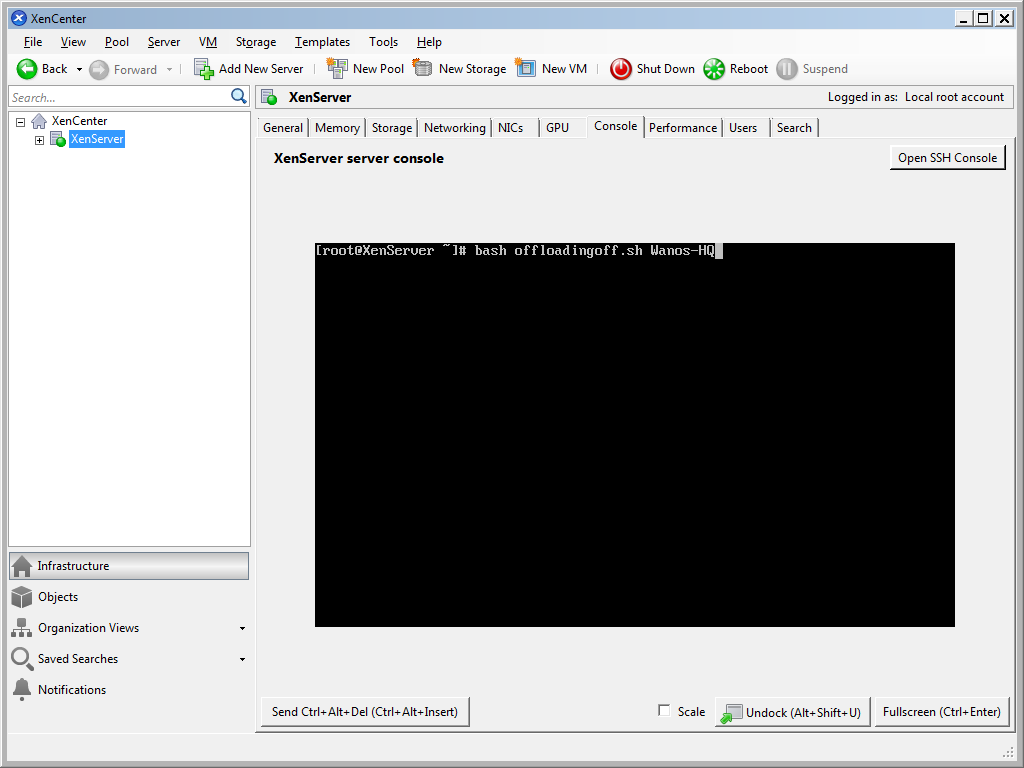
Still from the XenServer console, disable offloading on the target VM by running the command bash offloadingoff.sh <name-label RW value>. In this example, the command is:
bash offloadingoff.sh Wanos-HQ
Here’s the output if the command if done correctly. Reboot the XenServer, after a successful operation, to complete the process.