Bare Metal White Box -Install Guide
This is the Wanos install guide for Bare metal appliance. Read and familiarize with the basics before deploying the appliance into production. This guide follows the Bridge deployment.
Table of Contents
Write Wanos Image to Hard Disk Drive
Write Wanos Image using Win32DiskImager
Write Wanos Image using dd command
Hardware Requirements
Refer to the Hardware Requirements section to check the minimum and recommended specifications for a bare metal setup. Generally, Intel based Network Interface Cards (NIC) are preferred. A minimum of two NICs are required to setup a Wanos appliance in bridge mode.
Write Wanos Image to Hard Disk Drive
Download the Raw Disk Image from Wanos Downloads. To write the Raw Disk image to the destination hard drive, attach the drive to an external HDD enclosure.
For Windows systems, the Win32DiskImager has proved to be a simple and reliable tool to write the image to a hard drive.
The instructions below can be used to write a Wanos Raw Image to a USB Drive.
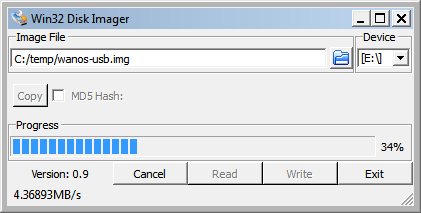
Write Wanos Image using Win32DiskImager
- Open the application and click the folder icon to locate the extracted Raw Disk image file and select the target drive from the drop down box.
- Ensure the destination device is the correct drive.
- Click the Write button to write the image to the target drive.
For Linux systems, the ‘dd’ command line utility or the ImageWriter application can be used.
Write the Raw Image using the dd command
- Open Terminal in the directory where the Wanos Image file was extracted.
- Type dd if=”wanos-3.0.4.img” of=/dev/sdX (replace X with the target device e.g. /dev/sda) and press Enter. You may need sudo or root privileges.
- Do not write the disk image to a partition number e.g. of=/dev/sdc1

After writing the Raw Disk Image to the destination drive, install it into the target appliance and boot it up.
Post Install Checks
Disk Space
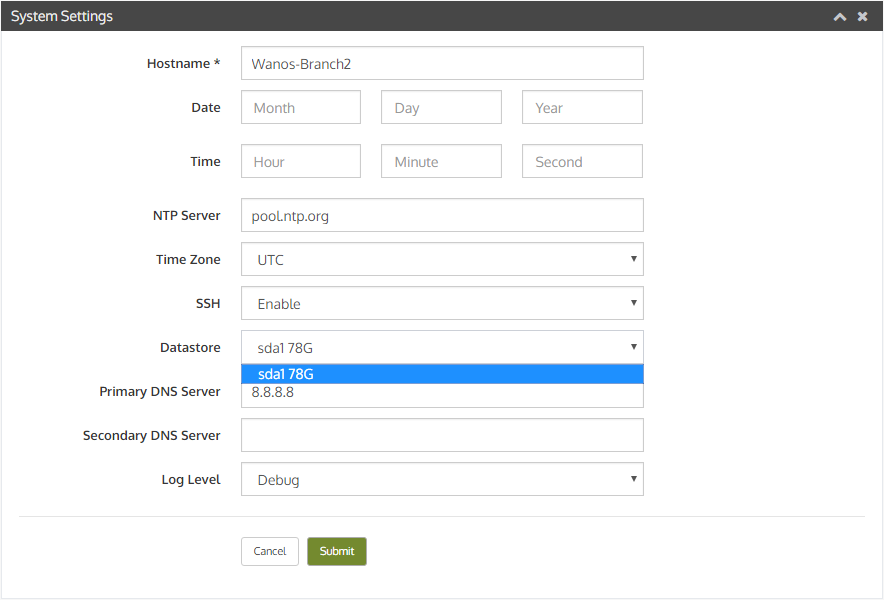
The default disk space allocation may not be sufficient. Free space should be automatically partitioned and formatted. In the UI select the partition from the datastore drop-down. In the scenario where the free space is not available in the drop-down menu, manually mount the datastore on the free space by running the following command sequence:
sudo /etc/wanos/wanos-fdisk sdx
sudo reboot
sudo mkfs.ext3 /dev/sdxy
sudo reboot
Where x is the target drive e.g. sda and y is the partition number created by wanos-fdisk e.g. sda2
Finally, set the Datastore in Wanos Web User Interface.
Cabling
By default eth0 will be assigned to wan0 and eth1 to lan0. See the Cabling Guide for more information on connecting the ports to the Router and Switch.
This should complete the hardware setup of the appliance.
IP Configuration
At this point, Wanos is installed and running.
Use a web browser to access the Web UI via https://192.168.1.200. If the network is on a different subnet, then, change the IP & Gateway information.
Once done, type the Username and Password to Login.
Update Software
Always ensure to be running the latest Wanos version. A step-by-step wanos update process guide is available.
License Activation
Unlock all Wanos features by activating a license. Please refer to the License Activation article. This step is also required for Trial use.
Username and Password
The login details for the Appliance and Web UI is in the Username and Password FAQ section.