Proxmox – Virtual Machine Install Guide
This is the Wanos install guide for Proxmox. Read and familiarize with the basics before deploying the appliance into production. This guide follows the Bridge deployment.
Table of Contents
Import Wanos Images to Virtual Machine
Configure Network on Virtual Machine
Compatible Wanos Images
Wanos images can be downloaded from the Wanos website. Raw Disk Image works with Proxmox. Instructions on how to import the disk image is explained in Import Wanos Images to Virtual Machine section.
Configure Network
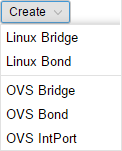
This install guide focuses on a Bridge deployment. WAN and LAN bridges needs to be created. To get started, login into the Proxmox Web User Interface, navigate to the target Proxmox Node > System > Network. Create two Linux Bridges, example: vmbr1 and vmbr2, then configure accordingly.
Create Wanos Virtual Machine
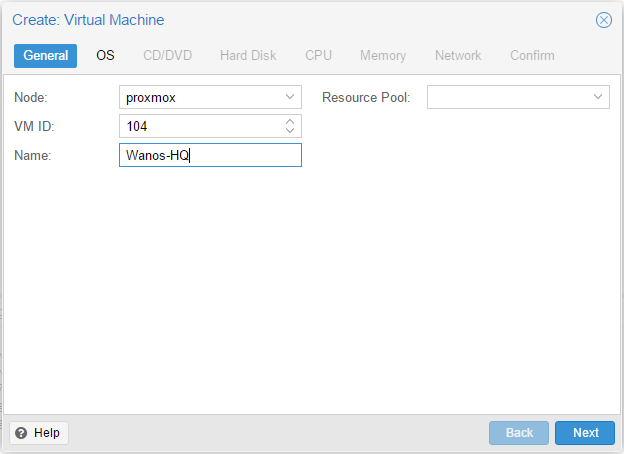
Click Create VM on the Proxmox Web UI and configure the following:
- General: Select the appropriate node, set the VM ID or leave the defaults if not sure, set the Name to Wanos-HQ and set the Resource Pool if required.
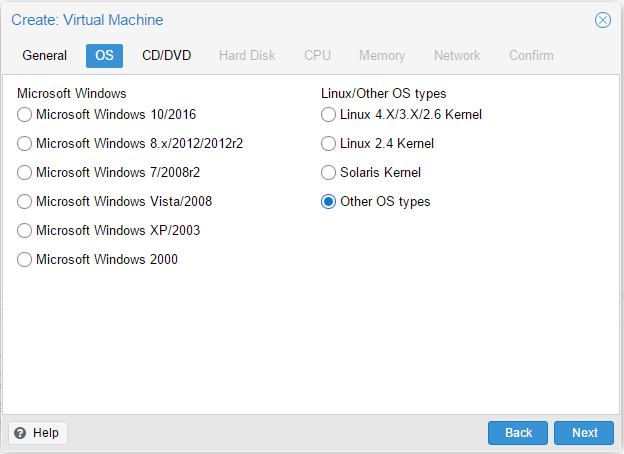
- OS: Other OS Types
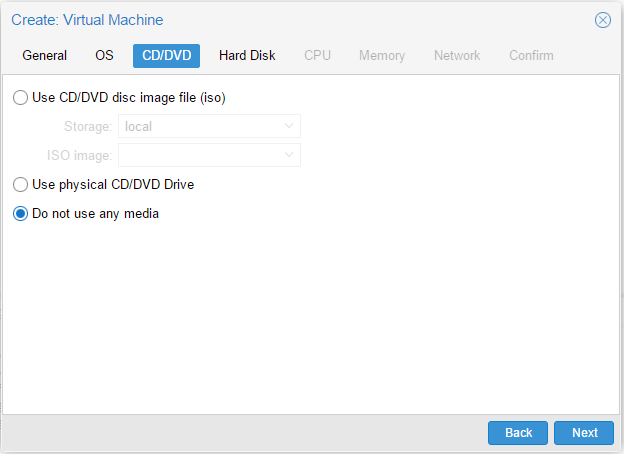
- CD/DVD: Do not use any media
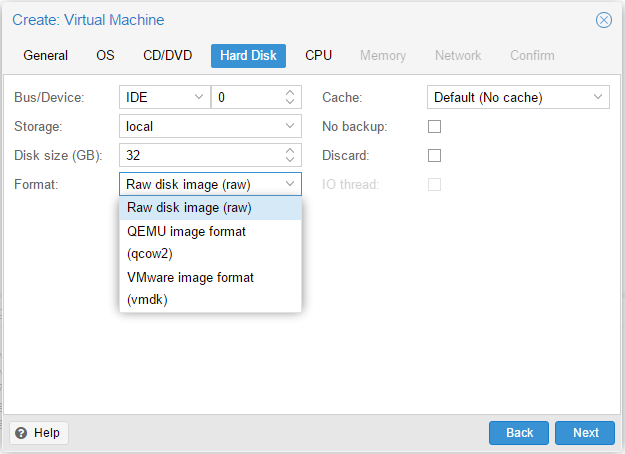
- Hard Disk: Bus/Device: ID/0, Storage: local, Disk Size: 32GB (leave default for now), Format: RAW (if Raw Disk Image was downloaded) or VMware image format (if Virtual Appliance OVA was downloaded).
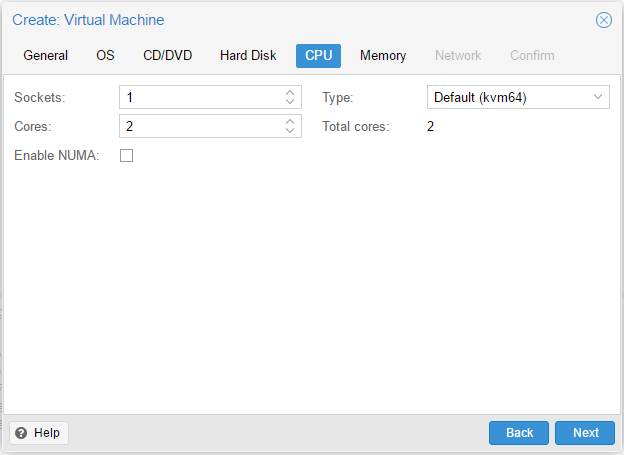
- CPU: Set the cores and sockets based on your hardware. Leave Type as kvm64 (default).
- Memory: Use fixed sized memory. 2GB is the minimum for production. Review Hardware Requirements for more information. Untick or Uncheck Ballooning option.

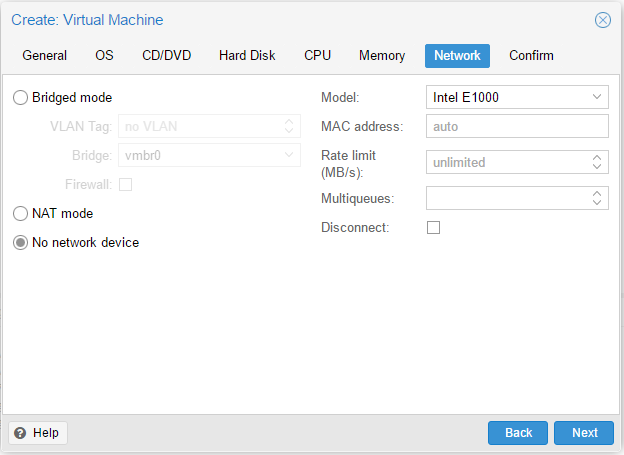
- Network: No Network Device
- Review parameters and click Finish to create the Wanos-HQ Virtual Machine.
Import Wanos Images to Virtual Machine
Instructions for Proxmox 4.1 and older versions
- Extract the Wanos zip file to reveal the contents. It should have the .img extension.
- Take note of the virtual drive filename that was created by Proxmox. example: vm-100-disk-1.raw.
- Rename the Wanos vmdk file to the naming convention used by Proxmox. example: wanos-3.0.4-disk1.img to vm-100-disk-1.raw
- Copy the .img file to the Proxmox target home directory. Use SCP if the user is using Linux, or, WinSCP if the user is using Windows. The default path should be in:
/var/lib/vz/images/Note that the Proxmox may create another sub-directory in the said path example: 100 so the path would be something like /var/lib/vz/images/100/<name of virtual drive>.raw
The reference of the steps outlined here came from this Proxmox thread.
Instructions for Proxmox 4.2 and newer versions
- Extract the Wanos zip file to reveal the contents. It should have the .img extension.
- Upload the extracted Wanos image (.img) to Proxmox. Use SCP if the user is using Linux, or, WinSCP if the user is using Windows.
![]()
- Take note of the VM ID assigned during the creation of Wanos VM. In this example, we’ll use a VM ID with a value of 100. We’ll use the default local-lvm (pve) storage. Run the following commands on the Proxmox Node Console. (Adjust the VM ID, Wanos filename, and target Storage as necessary):
qm create 100 --bootdisk scsi0
qm importdisk 100 wanos-4.2.7-ub.img local-lvm
qm set 100 --scsi0 local-lvm:vm-100-disk-0
Reference: Qemu/KVM to Proxmox VE
Configure Network on Virtual Machine
After creating the WAN and LAN networks in Configure Network section, it is time to configure the Wanos Virtual Machine.
Network
On Proxmox Web UI, navigate to Proxmox Node > Wanos-HQ (virtual machine) > Hardware. Click Add > Network Device. Select Bridged mode and configure accordingly. Make sure to configure Model to VMware vmxnet3. Repeat the same step to add the second network device. Wanos-HQ should have 2 Network Devices configured in it.
This completes the Virtual Machine Creation. Start the virtual machine on Proxmox Web UI to continue.
IP Configuration
At this point, Wanos is installed and running.
Use a web browser to access the Web UI via https://192.168.1.200. If the network is on a different subnet, then, change the IP & Gateway information.
Once done, type the Username and Password to Login.
Update Software
Ensure to run the latest Wanos version. A step-by-step wanos update process guide is available.
License Activation/
Unlock all Wanos features by activating a license. Please refer to the License Activation article. This step is also required for Trial use.
Username and Password
The login details for the Appliance and Web UI is in the Username and Password FAQ section.