KVM – Virtual Machine Install Guide
This is the Wanos install guide for KVM. Read and familiarize with the basics before deploying the appliance into production. This guide follows the Bridge deployment.
Table of Contents
Disable Network Manager
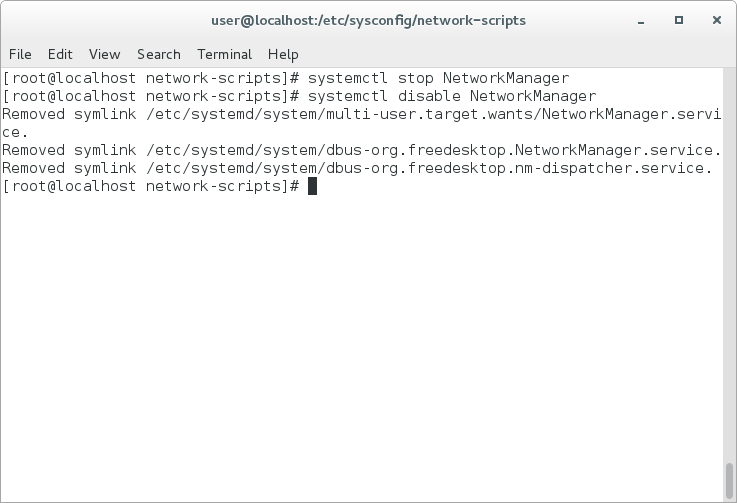
Network Manager is installed and enabled by default on a CentOS 7 with GUI installation. Configuring the network on virt-manager with Network Manager enabled may cause problems so there is a need to disable it. Run the following commands as root:
systemctl stop network
systemctl stop NetworkManager
systemctl disable NetworkManager
Check the status of Network Manager by running the command:
systemctl status NetworkManager
Restart the network service by running the command as a root:
systemctl start network
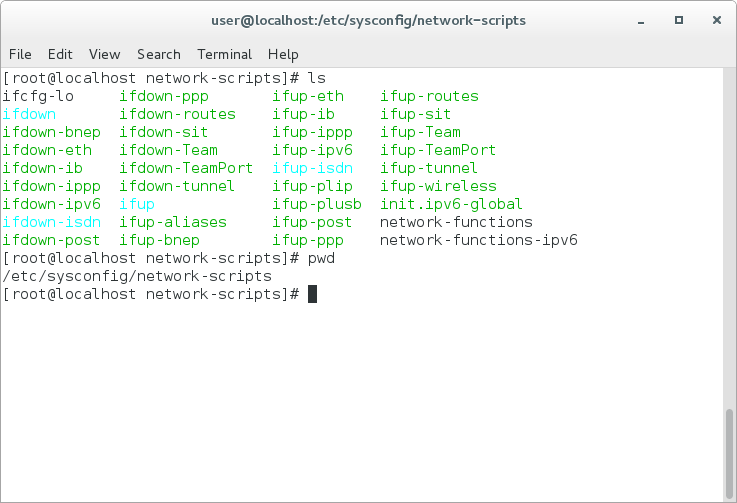
Delete or move / backup the configuration files created by Network Manager found in /etc/sysconfig/network-scripts.
Before closing the terminal, restart the libvirt service by running the following command as root:
systemctl restart libvirtd
Extract Wanos Image
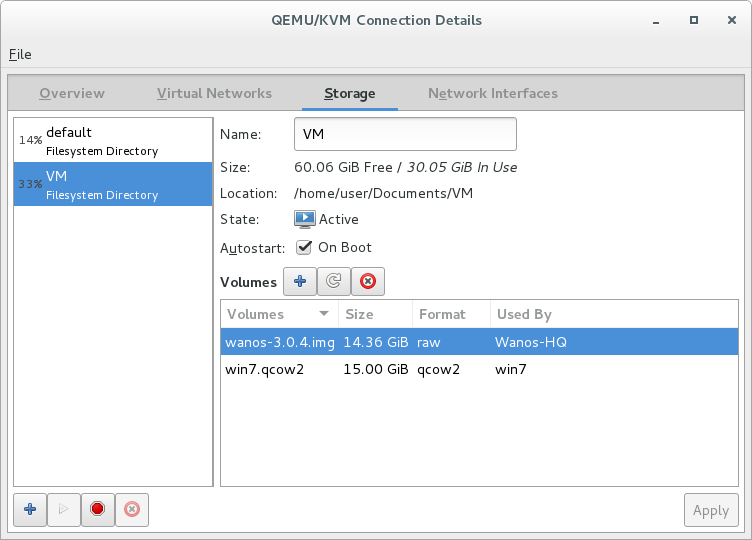
Download the RAW Disk Image version of Wanos from our website. Extract the file to a target directory (e.g. Downloads). Unzip the file to extract the raw image to a target KVM Filesystem Directory (e.g. /var/lib/libvirt/images). Check if the image has been added to the Virtual Machine Manager by clicking the Refresh Volume List button found in Edit > Connection Details > Storage (tab). At least two Wanos installations are required in a production environment.
Configure Network
Two virtual switches are required for one Wanos Appliance. WAN_Link and Server_LAN will be used as an example. These will be the bridged networks. For tunnel mode, one network is sufficient.
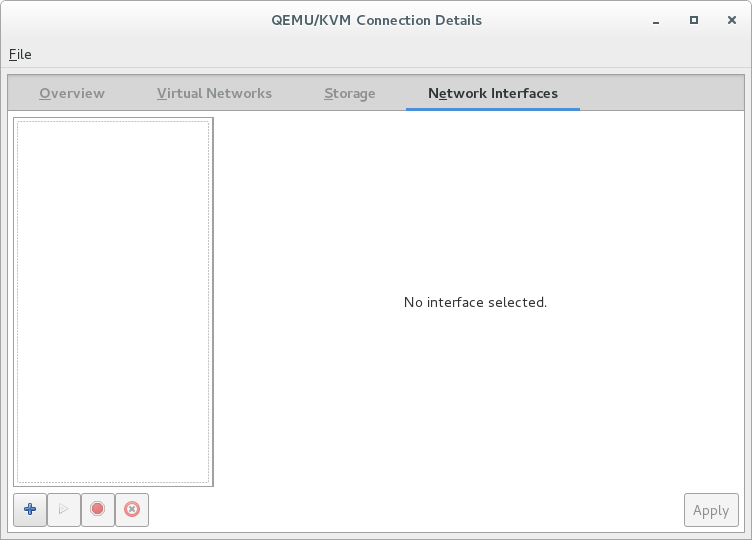
To get started, launch Virtual Machine Manager then go to Edit > Connection Details > Network Interfaces (tab).
WAN_Link
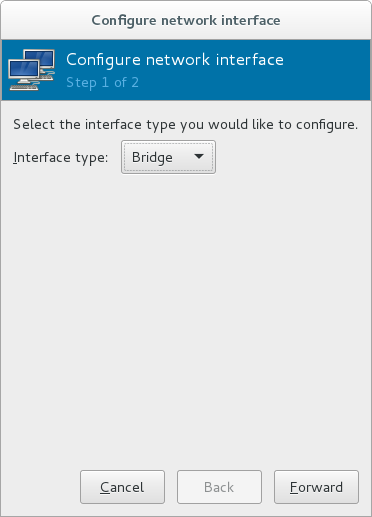
To create a new Network Interface, click the Add Interface ( + ) button. This will start a Configure Network Interface wizard.
Select Bridge as the Interface Type. Click Forward to continue.
Set the following parameters and select the appropriate NIC in the list. Screenshots are provided for reference. Click Finish to complete the wizard.
Name: WAN_Link
Start Mode: onboot
Activate now: yes or checked
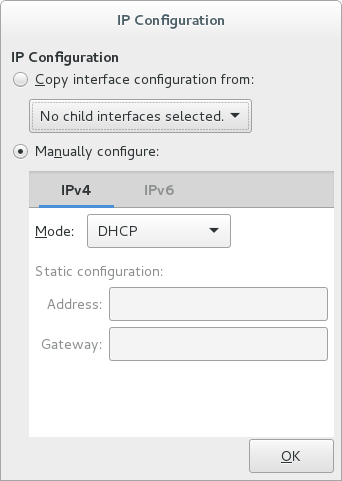
IP Settings: Manually configure, use DHCP under IPv4
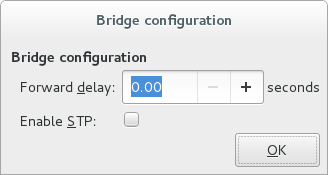
Bridge Settings: Forward delay: 0.00, STP: disabled or unchecked

Server_LAN
The same steps outlined in WAN_Link can be used. Use Server_LAN as the name of the second interface. Do not use the same adapter configured for WAN_Link.
Create Wanos Virtual Machine
At least two Wanos installations are required in a production environment.
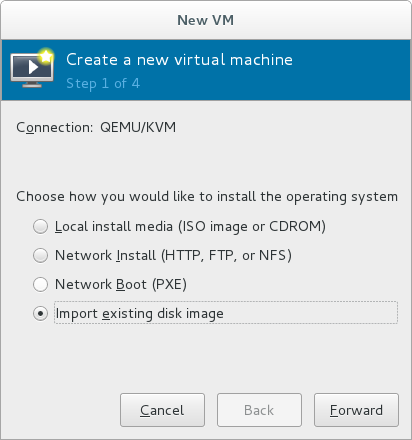
To get started, launch Virtual Machine Manager and click File > New Virtual Machine. A vm creation wizard will start.
Wanos-HQ
Select Import existing disk image and click Forward to continue.
Browse the extracted raw image in the designated File System Directory. Review the Extract Wanos Image section for more information. Leave OS type and Version as Generic. Click Forward to continue.

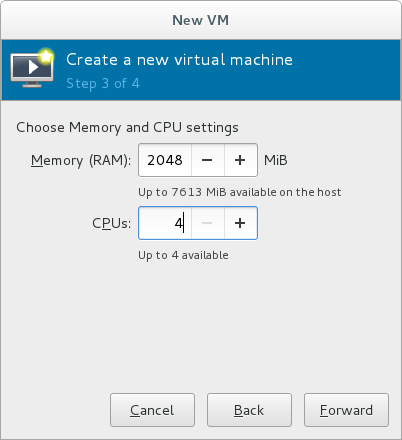
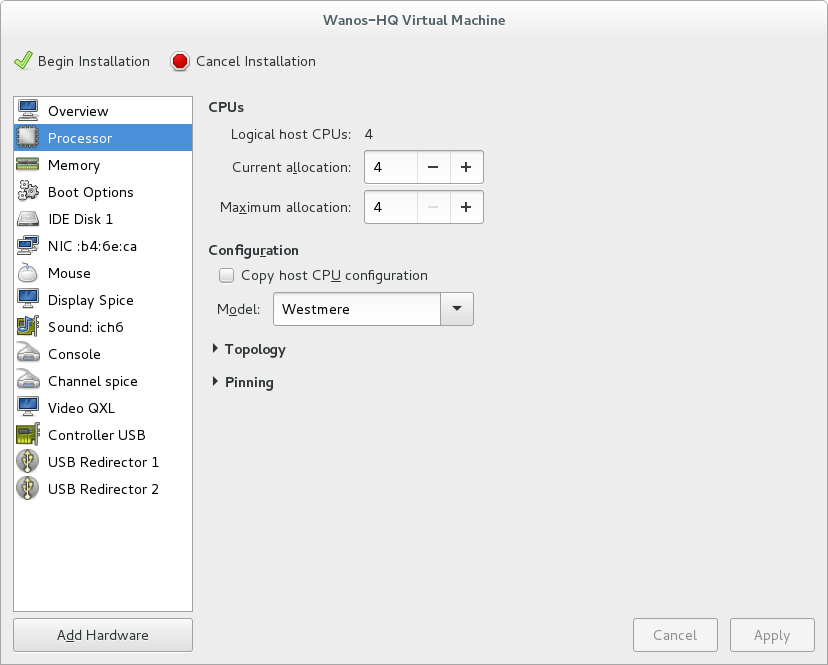
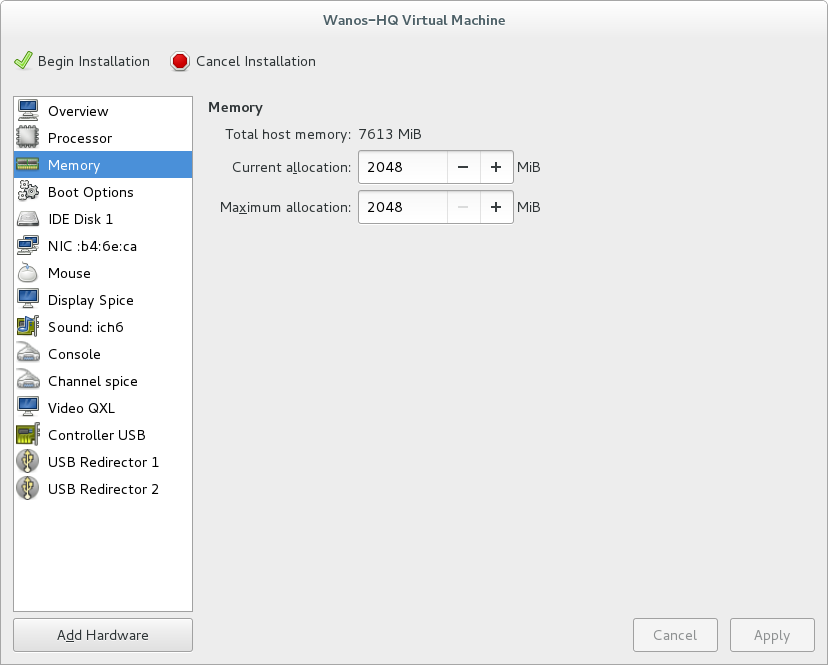
Configure the Memory and CPUs depending on the hardware used. Review Wanos Hardware Requirements for more information.
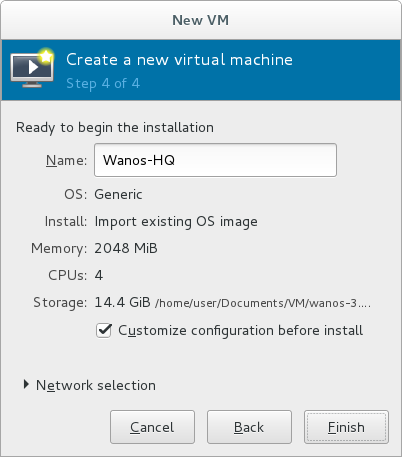
Set the name to Wanos-HQ, or any preferred name. Ensure to tick/select Customize configuration before install before clicking Finish.
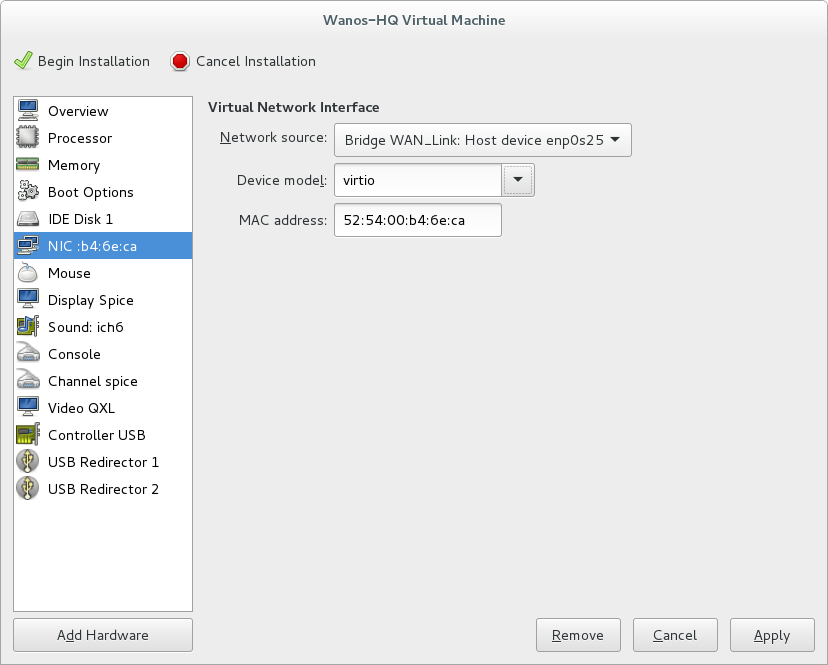
The first NIC on the list must use the WAN_Link interface. Set the Device model to virtio.
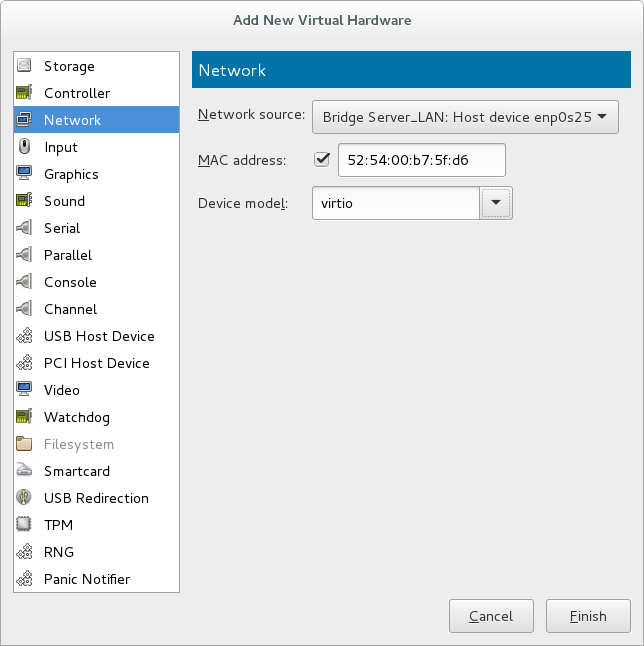
Add a second NIC by using the Add Hardware button.Select Network, set the Network Source to Server_LAN and set the Device model to virtio. Click Finish to add the new virtual hardware.
Optionally, the CPU and Memory can be reviewed and configured before completing the wizard. Screenshots are provided for reference.
Once done, click Begin Installation to complete the Wizard.
Repeat the same steps outlined in Wanos-HQ to create the second, or more as needed, Wanos Peers.
IP Configuration
At this point, Wanos is installed and running.
Use a web browser to access the Web UI via https://192.168.1.200. If the network is on a different subnet, then, change the IP & Gateway information.
Once done, type the Username and Password to Login.
Update Software
Ensure to run the latest Wanos version. A step-by-step wanos update process guide is available.
License Activation
Unlock all Wanos features by activating a license. Please refer to the License Activation article. This step is also required for Trial use.
Username and Password
The login details for the Appliance and Web UI is in the Username and Password FAQ section.